Firebase Hosting の機能を使えば、サーバサイドが苦手な方(筆者含む)でも簡単にWebページを表示することができます。
iOS や Android アプリに表示する簡単な静的ページ(利用規約など)を表示する場合などに、わざわざ自分でレンタルサーバに環境構築する必要もなく、お手軽に実現することができます。
Firebase Hosting を利用してWebページを表示する手順
予め、Firebase プロジェクトが作成済みである前提で話を進めます。
Firebase プロジェクトの作成については下記の記事の(1)・(2)をご参考ください。
(1) Firebase CLI ツールのインストール
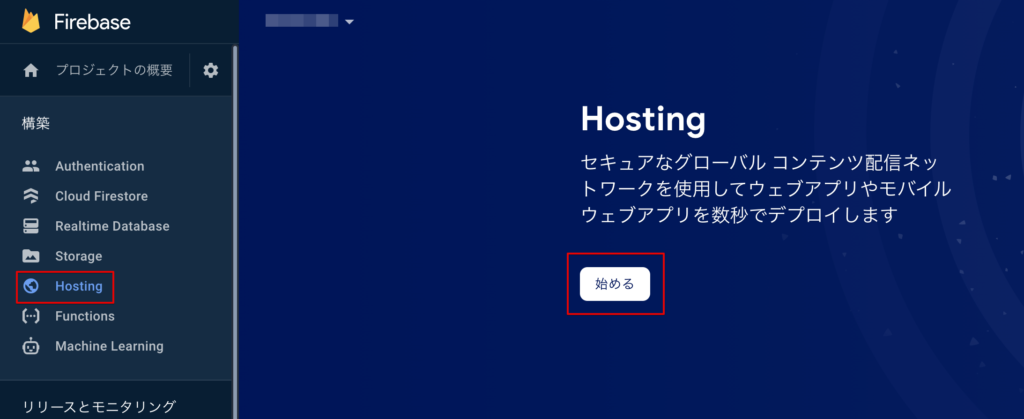
コンソール画面から[Hosting]メニューを開き、「始める」をクリックします。
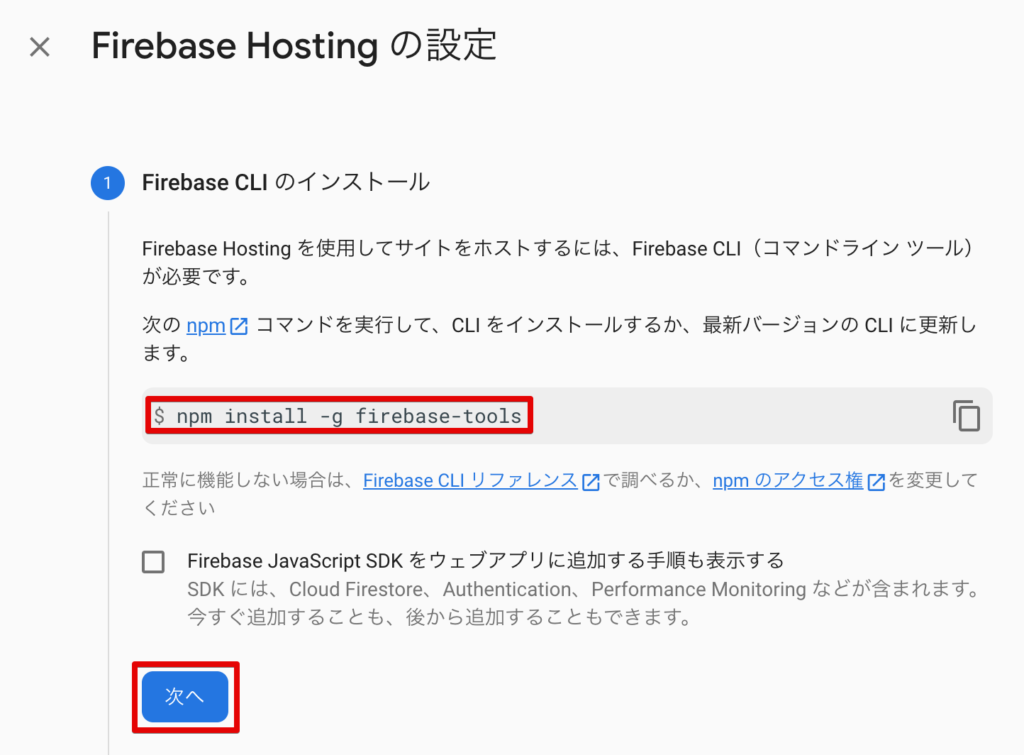
最初に npm install で Firebase CLI ツール群をインストールします(インストール手順は後述)。
インストール後に「次へ」で次の手順へ進みます。
そもそも npm がインストールされていないと実行できませんので以下の手順通り進め、npm を使えるようにしましょう。
既に npm がインストールされている、または、その事前準備である Home brew 等がインストール済みであれば (1)〜(3) についてはスキップしてください。
(1) Home brew のインストール(インストールされていない場合のみ)
% /bin/bash -c "$(curl -fsSL https://raw.githubusercontent.com/Homebrew/install/master/install.sh)"(2) nodebrew のインストール(インストールされていない場合のみ)
% brew install nodebrewnodebrew コマンドへの環境パスを通します。
% echo 'export PATH=$HOME/.nodebrew/current/bin:$PATH' >> ~/.bash_profile
% source ~/.bash_profile
nodebrew のバージョンを確認して見ましょう。
% nodebrew -v
nodebrew 1.0.1
(3) Node.js のインストール(インストールされていない場合のみ)
Node.js をインストールすることで、同時に npm もインストールされます。
インストール先のディレクトリを作成したあとインストールします。
% mkdir -p ~/.nodebrew/src
% nodebrew install-binary latest
Node.js のバージョンを確認します。
current: none となっているのは使用するバージョンが未設定なためです。
% nodebrew ls
v15.5.1

current: none
複数のバージョンがインストールされている場合もあるため、使用バージョンを設定する必要があります。
% nodebrew use v15.5.1再度、バージョン確認をしてみると current: (バージョン名)となっているはずです。
% nodebrew ls
v15.5.1

current: v15.5.1
同時に、npm コマンドもインストールされているはずなのでバージョン確認します。
% npm -v
7.3.0
(4) Firebase CLI ツールのインストール
ようやく本題です。npm install コマンドでインストールしましょう。
% npm install -g firebase-toolsFirebase CLI がインストールされたか確認します。
% firebase --version
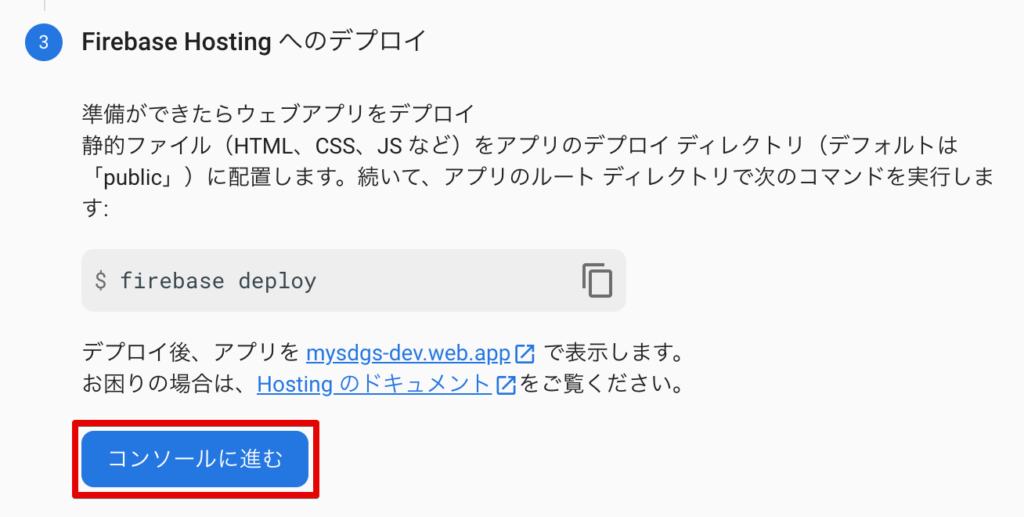
9.1.2インストール後は「次へ」「コンソールに進む」と進むと、ダッシュボード画面が表示されます。
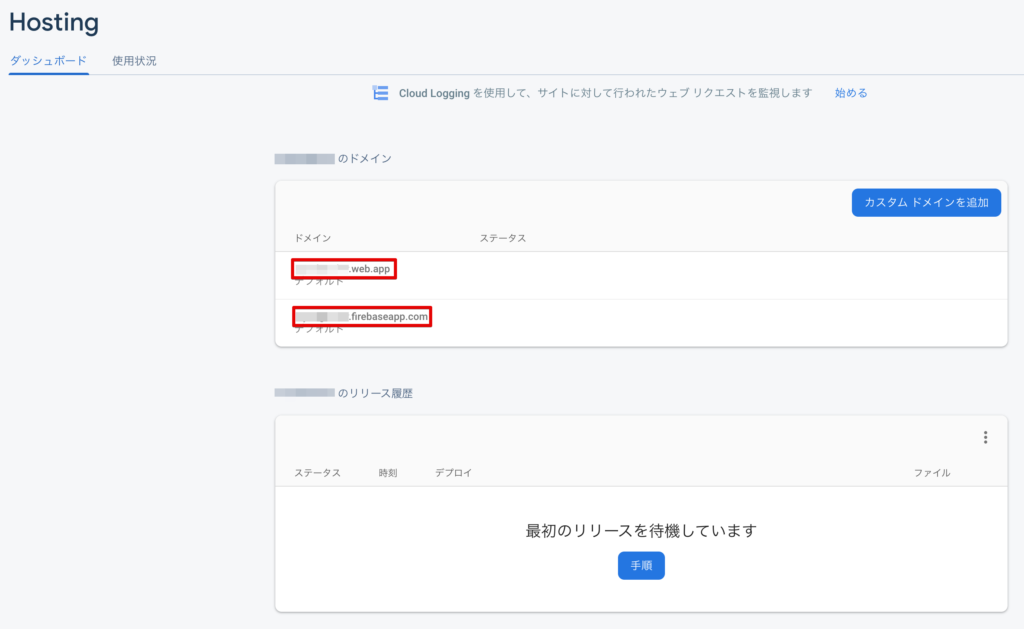
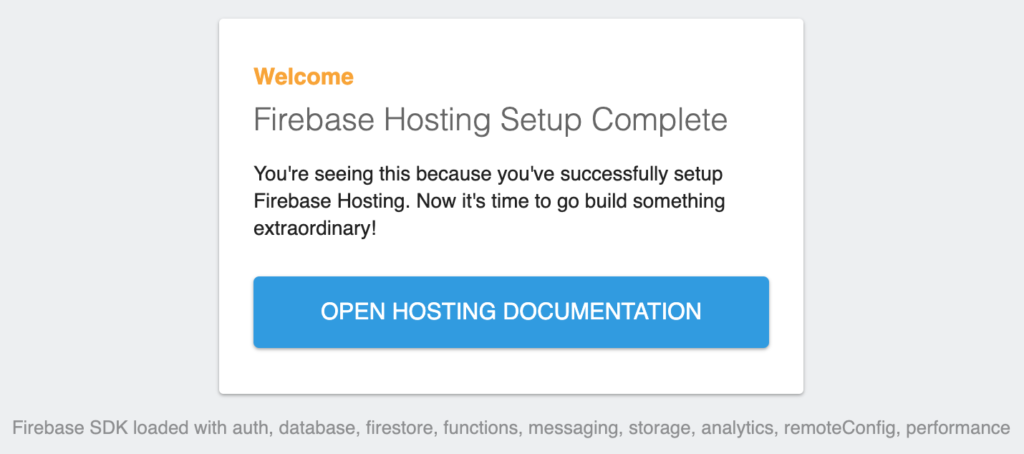
上記の赤枠のURLをクリックすると以下のような画面が表示されるはずです。
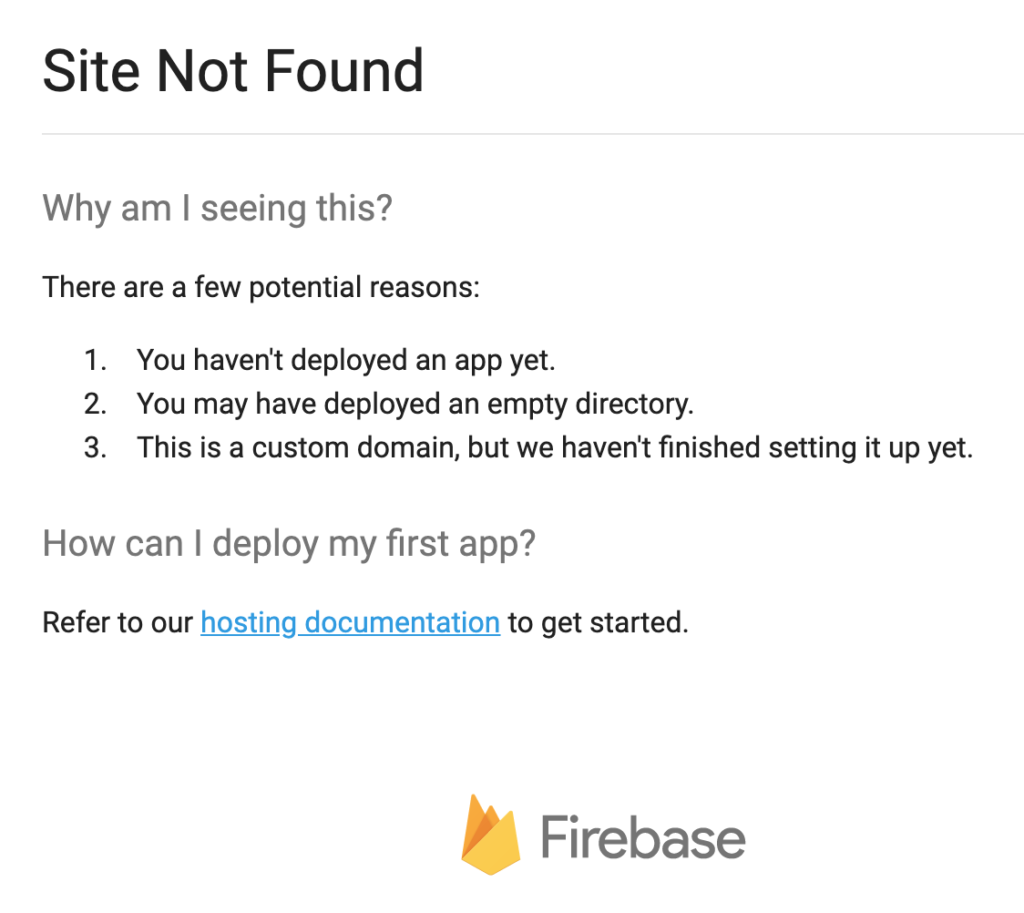
この時点ではサイトのデプロイを待っているという状況になります。
(2) サイト(静的ページ)のデプロイ手順
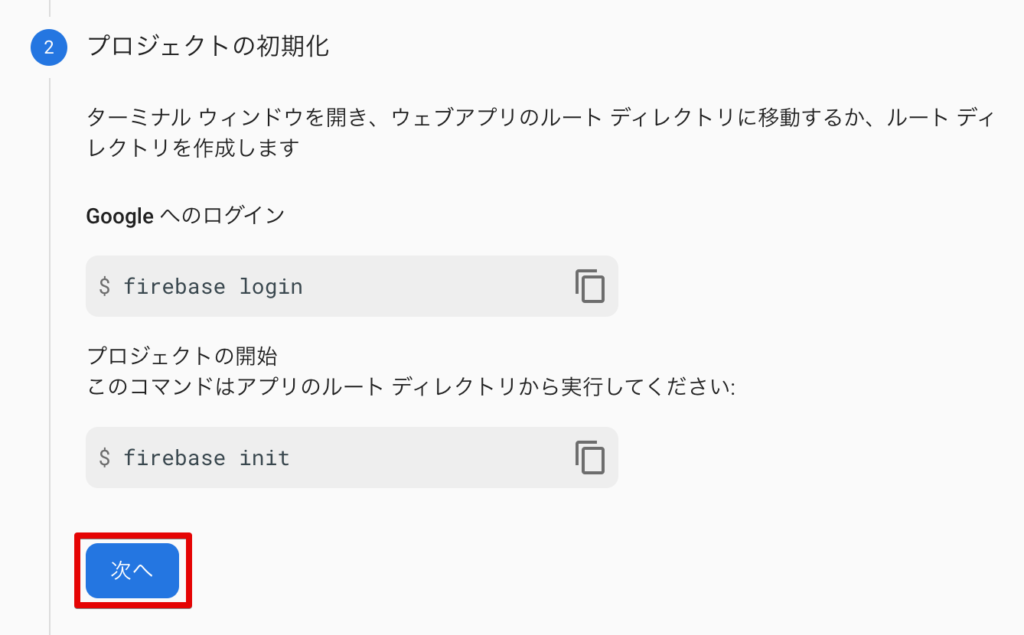
firebase login
先ず、ローカルの作業環境に任意のディレクトリを用意します。この例ではデスクトップ直下としています。
% cd Desktop
% mkdir 任意のディレクトリ名
% cd 任意のディレクトリ名
firebase login で Google アカウントにログインします。
% firebase login下記のようにFirebaseCLIの許可を尋ねられるので [Y+Enter]を押下します。
? Allow Firebase to collect CLI usage and error reporting information? (Y/n)すると、ブラウザが開いてGoogleログイン画面が表示されるので任意のGoogleアカウントでログインします。

「許可」をクリックして Firebase CLI のアクセスを許可します。

以下のようなブラウザの画面と、ターミナルの表示がされればOKです。
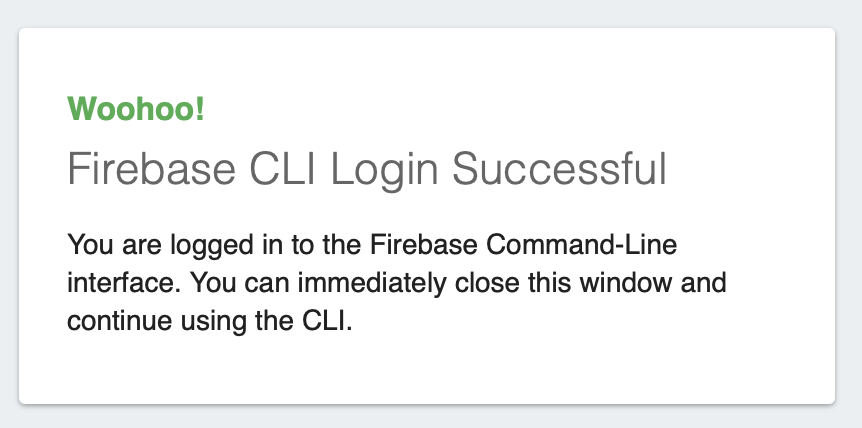
✔ Success! Logged in as **********@gmail.comfirebase init
続いて Firebase Hosting への初期化を行います。
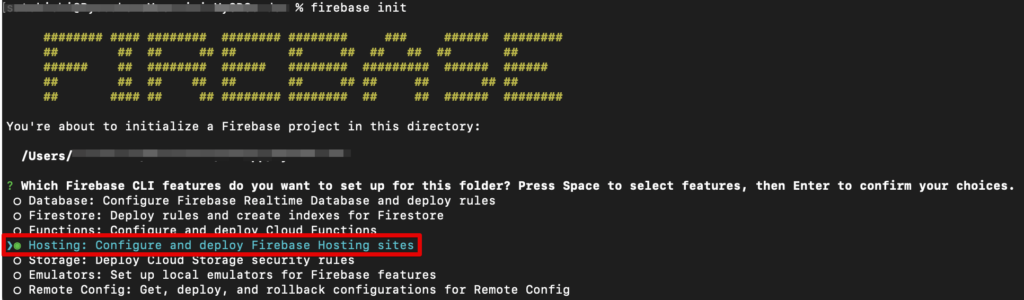
% firebase init以下のキャプチャのような表示がされるので、方向キーで Hosting にカーソルを合わせスペースキーを押下しエンターキーで次へ進みます。
続いて、対象のプロジェクトを選択します。
作成済みの Firebase プロジェクトを指定するので [Use an existing project] を選択します。

対象のプロジェクトを選択します。

公開するコンテンツのディレクトリを聞かれるので、今回はデフォルト(public)のままとしたいのでエンターを押します。
? What do you want to use as your public directory? (public) SPA(Single Page Application)に適した設定にするか聞かれますが、ここは[N+Enter]で進めます。
? Configure as a single-page app (rewrite all urls to /index.html)? (y/N) GitHub で自動ビルド&デプロイ環境をセットアップするか聞かれますが、本題から逸れそうなので今回は遠慮して [N+Enter] で進みます。
? Set up automatic builds and deploys with GitHub? (y/N) 以下のように表示されれば初期化完了です。
✔  Wrote public/404.html
✔  Wrote public/index.html

i  Writing configuration info to firebase.json...
i  Writing project information to .firebaserc...
i  Writing gitignore file to .gitignore...

✔  Firebase initialization complete!
ディレクトリに public ディレクトリと firebase.json が作られているか確認しておきましょう。
% ls
firebase.json	public
ローカル環境での確認
firebase serve コマンドでローカル環境でHostingを確認できます。
% firebase serve

=== Serving from '/Users/satokichi/Documents/WebApp/MySDGs-dev'...

i  hosting: Serving hosting files from: public
✔  hosting: Local server: http://localhost:5000
http://localhost:5000 にアクセスすると以下の画面が表示されるはずです。
ちなみに、[control+C]でシャットダウンできます。
Webにデプロイする
続いて、実際のインターネットにデプロイしてみます。
public ディレクトリに移動し、firebase deploy を実行します。
% cd public
% firebase deploy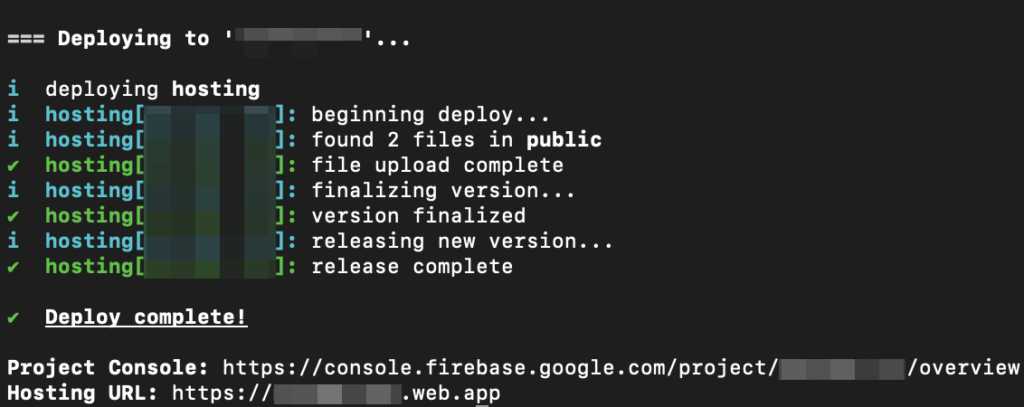
無事デプロイが成功していれば、Hosting した URL にアクセスすると先程と同じ画面が表示されるはずです。
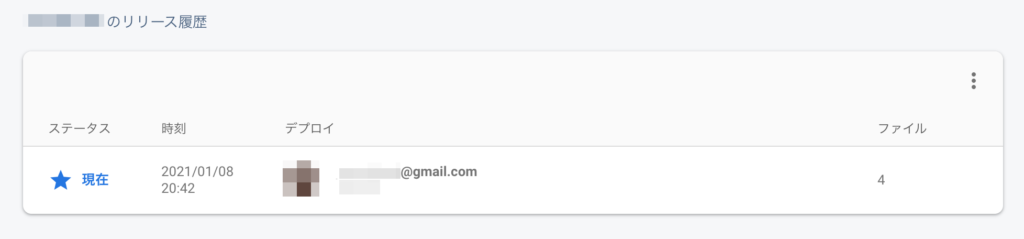
また、コンソール画面を確認するとデプロイ履歴が更新されているのが確認できます。
テストページを表示する
index.html ではなく、独自に用意したHTMLページを表示してみます。
public 下に以下のような内容の sample.html というファイルを用意しました。
% touch sample.html
% ls -l
404.html
index.html
sample.html

% vi sample.html
内容は適当です。
<!DOCTYPE html>
<html lang="ja">
    <head>
        <meta charset="UTF-8">
        <title>Firebase Hosting テストページ</title>
    </head>
    <body>
        <h1>Firebase Hosting のテストページですよ</h1>
    </body>
</html>
再度デプロイしなおします。
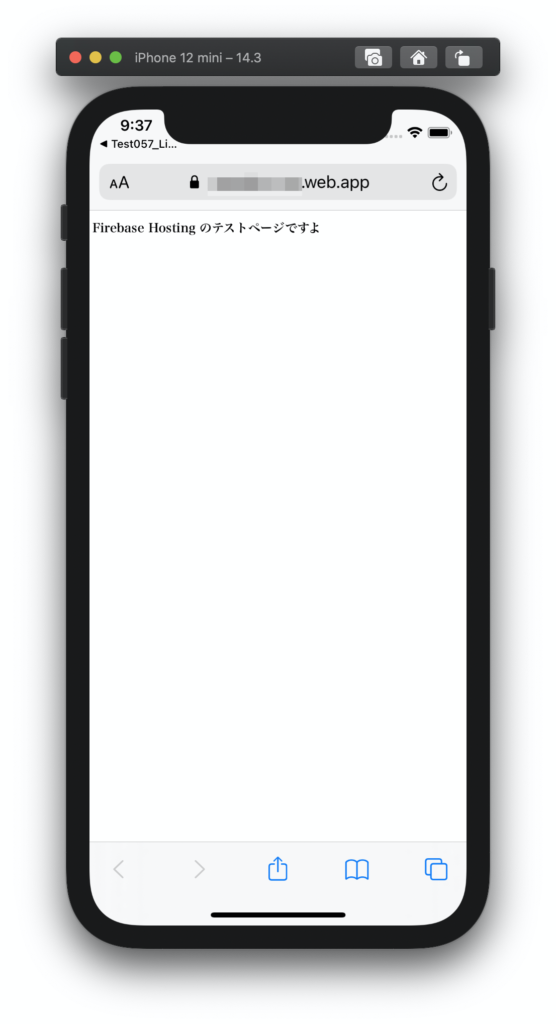
% firebase deployhttps://(プロジェクト名).web.app/sample.html でアクセスしてページが表示されれば成功です。

おまけ:iOSアプリから表示してみる
試しにSwiftUIアプリからLinkを利用して外部ブラウザで表示できるか確認してみました。
struct ContentView: View {
    var body: some View {
        if let url = URL(string: "https://(プロジェクト名).web.app/sample.html") {
            Link("Firebase Hosting のテスト", destination: url)
        }
    }
}
アプリ内の Link をクリックして無事外部ブラウザが起動しデプロイしたページが開きました。
以上、Firebase Hosting を使用したWebページの表示手順を紹介しました。
iOS や Android のアプリからも当然アクセスできるので、アプリの利用規約やプライバシーポリシーの表示をWebViewや外部ブラウザで表示することができると思います。

分からなかったのでありがとうございます!