今回はデータの読み込み中の表示などに使用する ProgressView の使い方について解説します。
※2020/09/17現在では、Xcode12 beta & iOS14 beta のみビルド及び実行ができます。
【SwiftUI】ProgressView(UIActivityIndicator)の使い方【Xcode12&iOS14】
ProgressView は2種類の表示スタイルがあります。
- .progressViewStyle(CircularProgressViewStyle())
- .progressViewStyle(LinearProgressViewStyle())
ただし、明示的にスタイルを指定しなくてもイニシャライザーによってスタイルが変わるようになっています。
順番に使用例を見ていきましょう。
(1) CircularProgressViewStyle
API通信中などに使う所謂「クルクル」です。ラベルを指定することができます。
ProgressView("Now Loading...")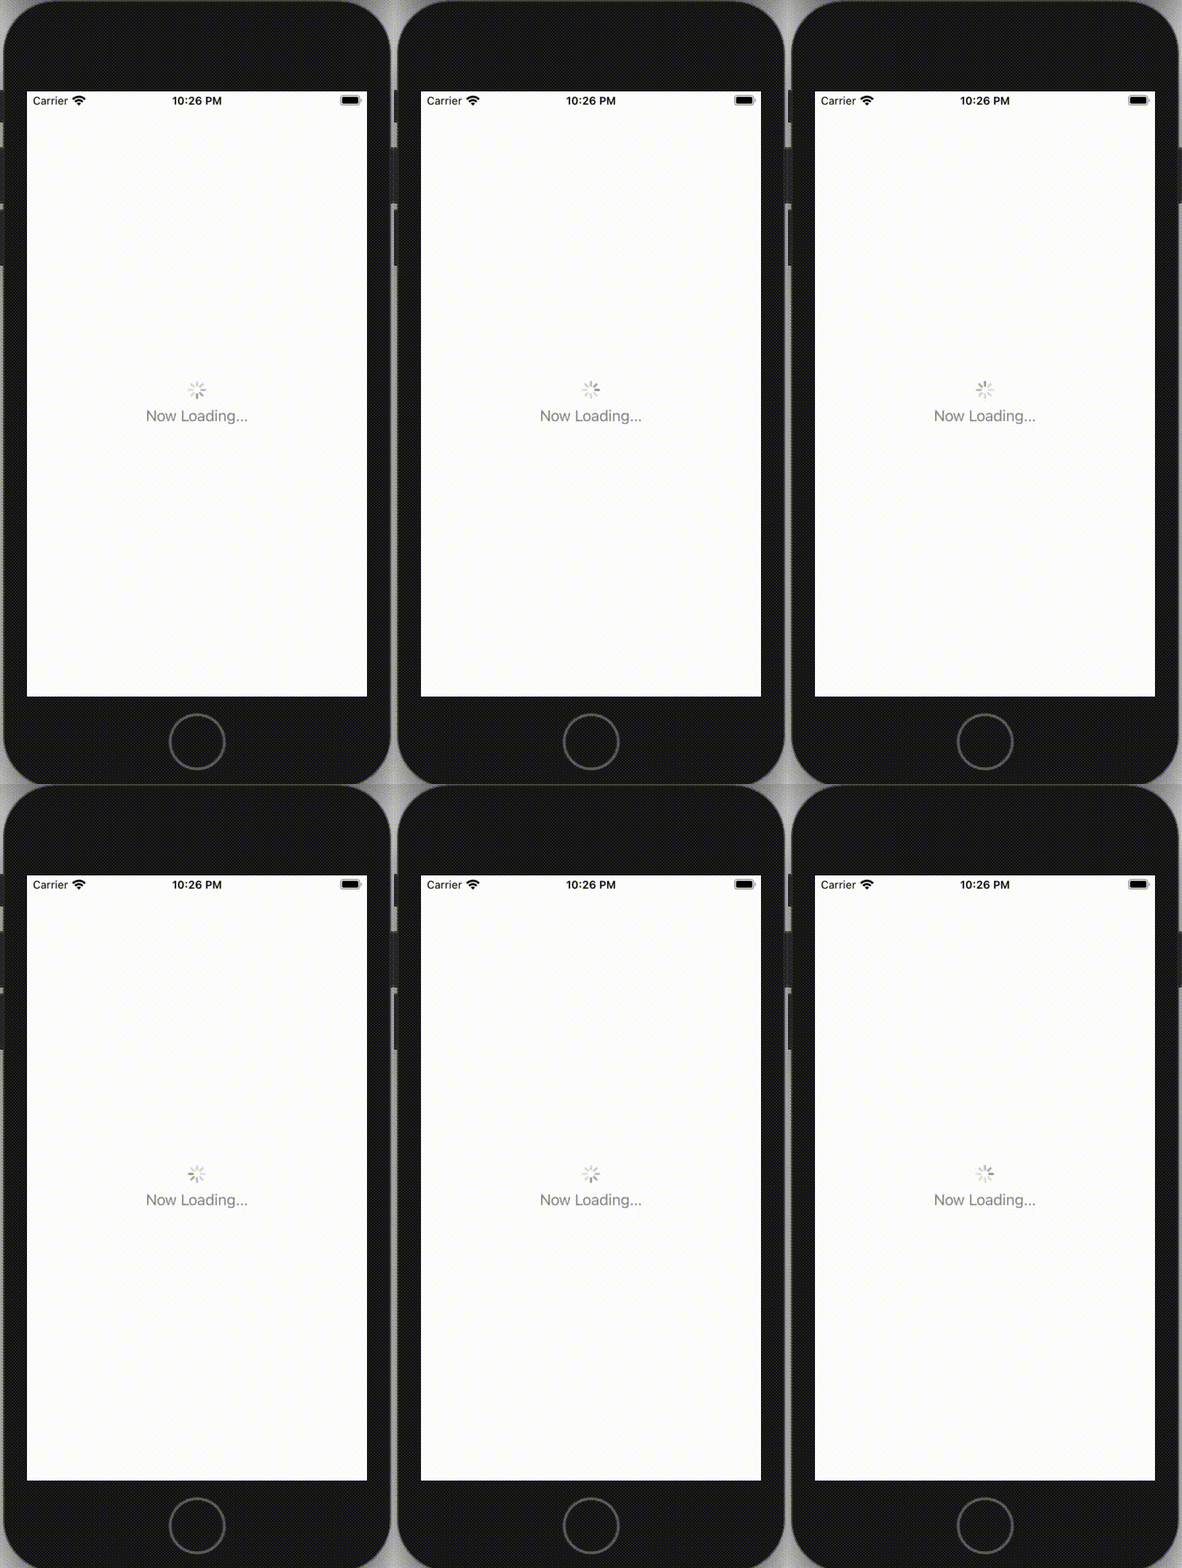
(2) LinearProgressViewStyle()
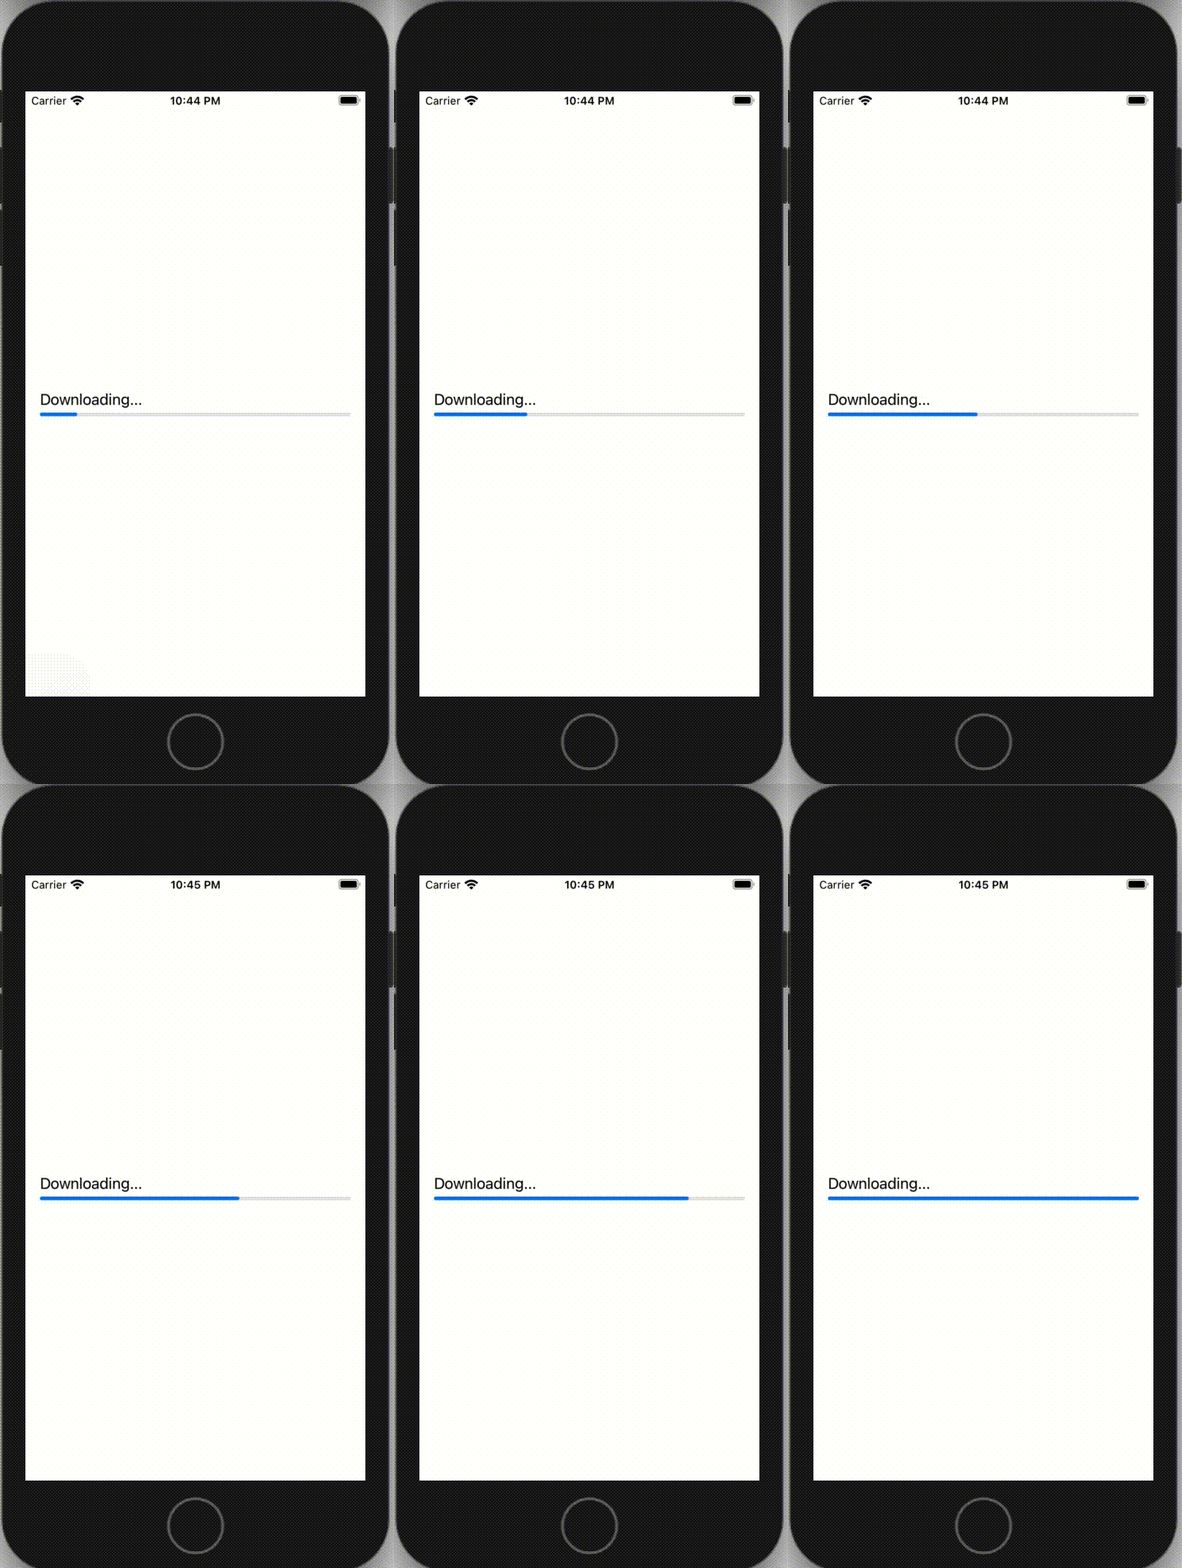
ダウンロードの進行状態などに使うゲージタイプのスタイルです。
@State private var current = 0.0
ProgressView("Downloading...", value: current, total: 100)
value: には進行値を指定します。
total: は value に対しての最大値を指定します。
上記の例のように、total に 100 を指定した場合、current が 10 の時に 10% 進行している表示になります。
このままではバーは進捗しませんので、タイマーをセットして徐々にバーが増えていく例を見てみましょう。
struct ContentView: View {

    @State private var currentProgress = 0.0
    private let total = 100.0

    var body: some View {
        HStack {
            Spacer(minLength: 16)
            let timer = Timer.publish(every: 0.1, on: .main, in: .common).autoconnect()
            ProgressView("Downloading...", value: currentProgress, total: total)
                .onReceive(timer) { _ in
                    if currentProgress < total {
                        currentProgress += 2.0
                        if currentProgress > total {
                            currentProgress = total
                        }
                    }
                }
            Spacer(minLength: 16)
        }
    }
}
バーの色とラベルの色を変える
バーの色は .accentColor で、ラベルの色は .foregroundColor で変えることができます。
ProgressView("Downloading...", value: currentProgress, total: total)
    .accentColor(.purple)
    .foregroundColor(.yellow)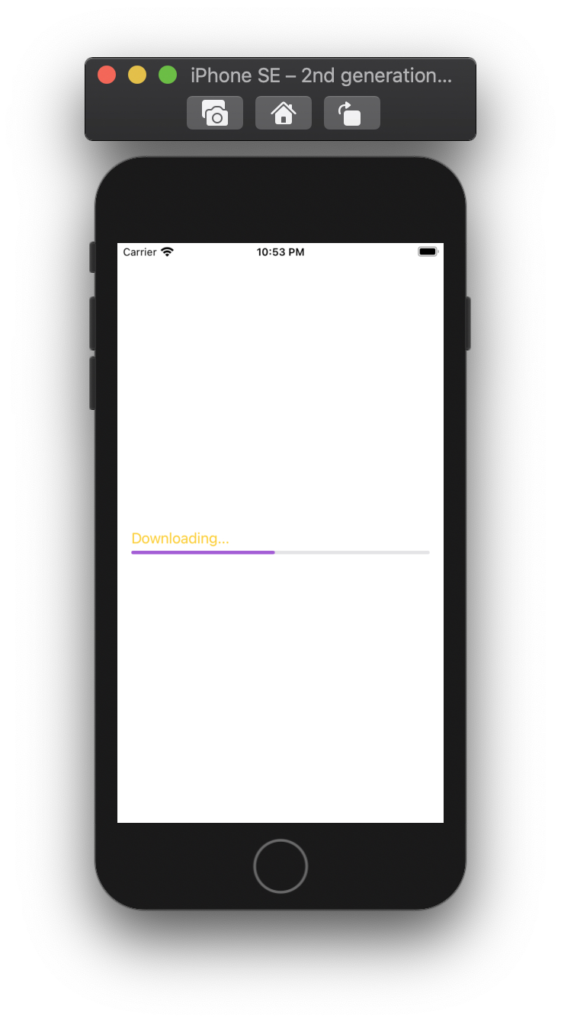
以上


コメントを残す